One of the biggest considerations when building a van conversion is the electrical system. Everyone will have different requirements and needs but we wanted to share some of the components that make up our electrical system, and why we choose these items. We built Biggie Small with the intention of future full time living, and with the idea that we would be working full time and need enough power to run laptops and camera gear day to day, regardless of the climate we were in. We won’t be going into details such as wiring diagrams as people like Greg Virgo have already done an amazing job sharing this information for free and his knowledge far surpasses ours!
We have recently developed a free tool called Electrify which allows you to easily choose from a list of preset products, or add your own and see the effects on your battery size, whether you are using an AGM or Lithium setup. This is really handy for getting a rough idea on what setup you might need, and how much power you will be using.
Lithium (LiFePO4) batteries
The batteries are the heart of our power system. Choosing the battery type, and capacity is extremely important when considering your setup. When researching batteries (which was a long and rather tedious job)
We needed to consider:
- What we needed to power and our maximum load
- How long we wanted to stay off grid
- How we were going to charge them
- Cost
- Weight
After determining that we wanted to wild camp or be off grid as much as possible and that we would be using the van in all seasons, we decided that we wanted a fairly large capacity on board. This then lead us down the rabbit hole of lithium vs lead-acid batteries. Weeks later we emerged with the conclusion that we wanted to go for a lithium (LiFePO4) setup.
The main selling points to us with lithium were:
- They can be up to 70% lighter than the equivalent lead-acid battery
- They have the ability to charge faster, and maintain capacity at high loads
- You can benefit from upto 50% more useable capacity like for like. ie. 100ah lithium vs 100ah lead-acid
- They are a more modern technology
The only negative we could find at this point was the cost of entry. Despite the lithium batteries lasting longer, they are far more expensive. Having previously run a manufacturing and import business years ago the first thought was the go directly to the source for our batteries rather than paying for a branded solution that someone else has slapped a label on (we appreciate that some brands are offering far more than this). We used Alibaba to shortlist a few factories that appeared to do what we were after and thanks to a tip off from another vanlifer we quickly narrowed down our search to XD battery company. Communication was really prompt and they offered many different capacities and battery types. After getting some prices we specified our BMS requirements and placed the order.
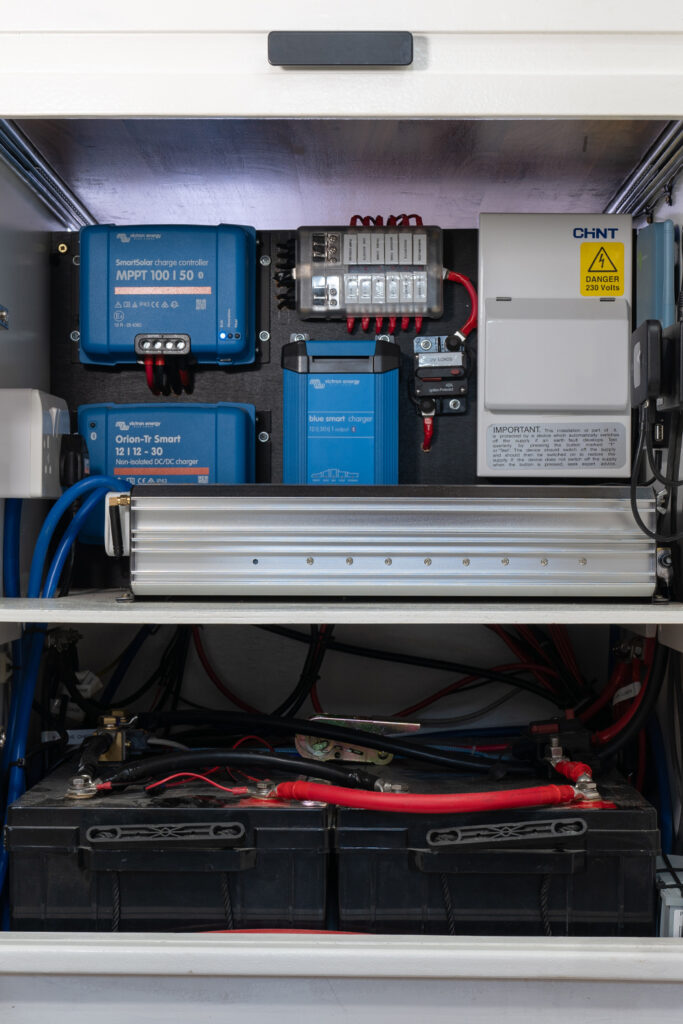
Around 3 months after our initial contact, we received 2 x 180ah (360ah total) lithium batteries in the post that had come via train all the way from China. Wired in parallel these batteries are able to output 250A which is a pretty phenomenal amount of power (Think hairdryers/food blenders and coffee machines). Looking at other branded options you can save around 50% doing this.

540w solar
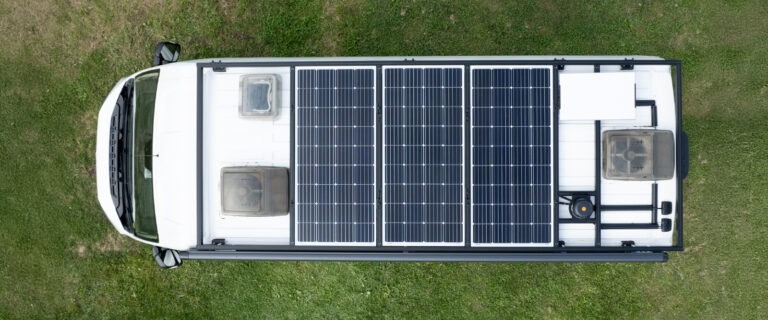
One of the three ways we can charge and maintain our battery bank is solar. As our Peugeot Boxer is a L4 we had plenty of room on the roof to maximise this aspect of our build. We were also conscious that during the winter months we would not be generating as much due to moody Welsh weather and the sun staying closer to the horizon on shorter days. We opted for a total of 540W which is split between three 180w panels from Photonic Universe. These monocrystalline panels have German-engineered solar cells and are supposed to be highly efficient in low light conditions. These solar panels are coupled with a BlueSolar MPPT 100 50 charge controller from Victron energy which gathers and stores the energy into our batteries.


3000w inverter
Powering our 240v sockets is a 3000W pure sine wave inverter. This particular model from Photonic Universe comes with a remote control which we keep in our utensils drawer. This is a really practical feature as we only turn the inverter on when using the 240v sockets. We ended up with such a large inverter as we had a couple of appliances that would peak to over 2000W and wanted to use those in conjunction with other items plugged in (our batteries are configured to allow up to 250A draw). Some of the highest drawing items are the food blender, hairdryer, hair straighteners, and an electric hotplate grill that we have. We’ve had no issues at all with this model and have pushed it to around 2500W so far. We can also closely monitor the power consumption on different items using the bluetooth functionality on the Victron BMV.
Victron smart controllers:
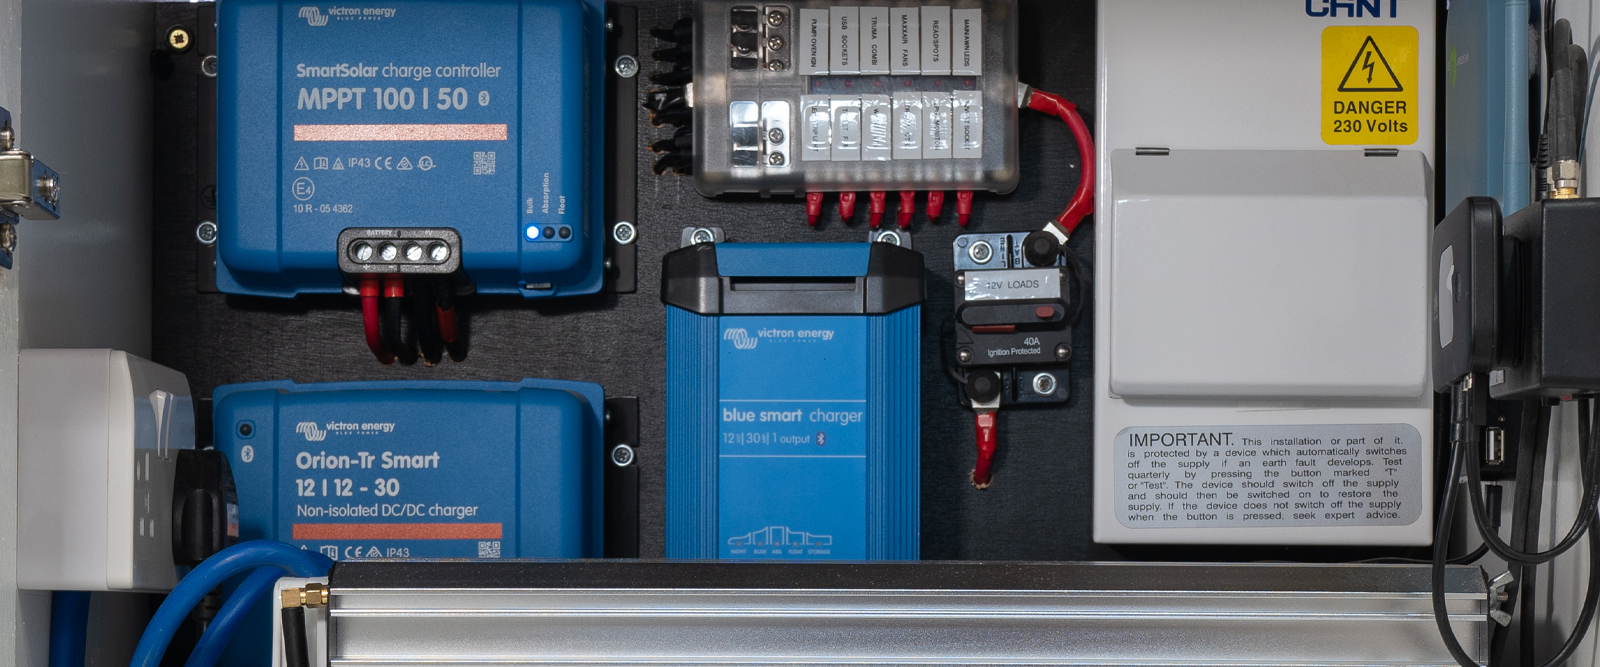
We decided to go for a primarily Victron energy setup for our power controllers. Victron has a fantastic reputation within the van and marine industry and it is recommended by lots of DIY and professional builders. Like all things, there are cheaper options available but we love the smart features and app that the Victron system provides.
Our setup is made up of:
Victron MPPT 100 50
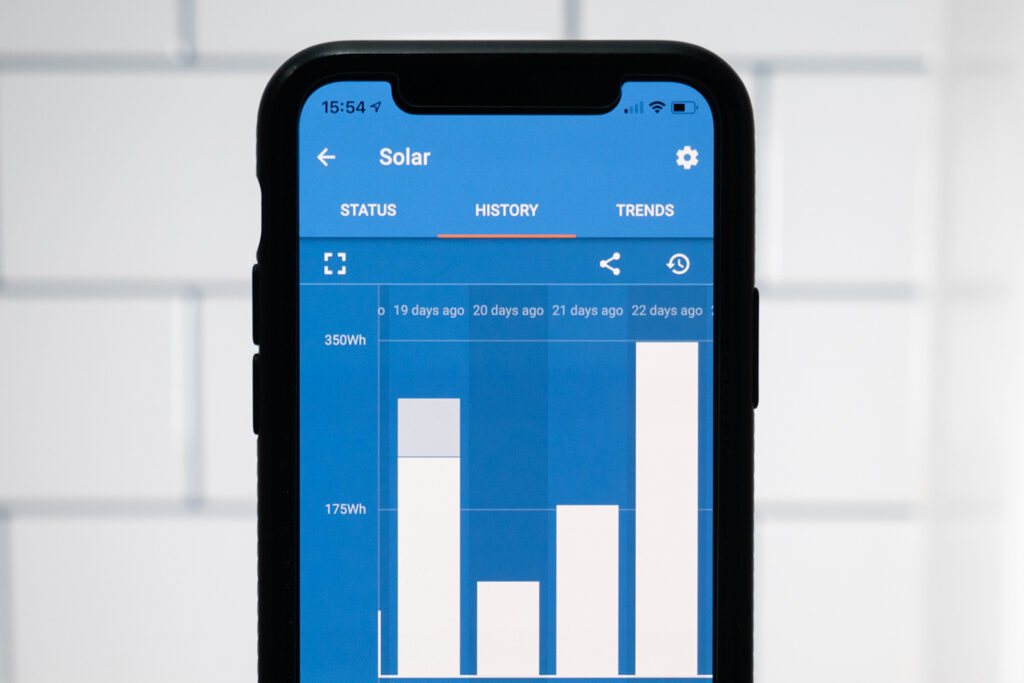
This BlueSolar charge controller gathers energy from our solar panels and stores it into the lithium battery bank. Using the monitoring tool on the Victron app we can see live data on our solar performance. The app also stores a history so you can compare yields and performance between days/weeks and different weather conditions. We have typically found that our battery bank has been back to 100% by around 10-11am on most winter days we have been away once the batteries have dropped to around 90%. Victron prides itself on great conversion efficiency and flexible charge algorithms to keep the batteries in the best condition possible.
Victron Orion-Tr 12 12 30 x 2 (60a total)
This is our 3 stage DC-DC charger. It is compatible with both lead-acid and also lithium battery setups which is worth considering if you might potentially swap any parts out in the future after your initial build. This allows us to charge our lithium battery bank from the main vehicle battery whilst the engine is running. This is an excellent addition to the build and a must-have for anyone using a smaller solar or battery bank setup who still plans to be using the van without an electrical hookup. We initially installed a single Orion charger which is capable of around 30a. After living off grid over winter and wanting to maximise our system we later installed a second Orion to boost our alternator charging to around 60a.
Victron Blue Smart 12 30
This is a smart, adaptive battery charger that works all kinds of magic to charge and monitor the batteries. Victron uses a six stage algorithm to optimise the charging process.
test > bulk > absorption > recondition > float > storage.
This charger also allows us to use our third way of charging our batteries which is via an external mains hookup on the side of the van. Since owning the van we have not had to use this function as we have had plenty of power. One benefit to having this is when staying near a power source or on a campsite, we can set our Truma 4E combi boiler to run the heating and hot water explicitly from the electric to preserve our LPG.
Victron BMV 712 Smart
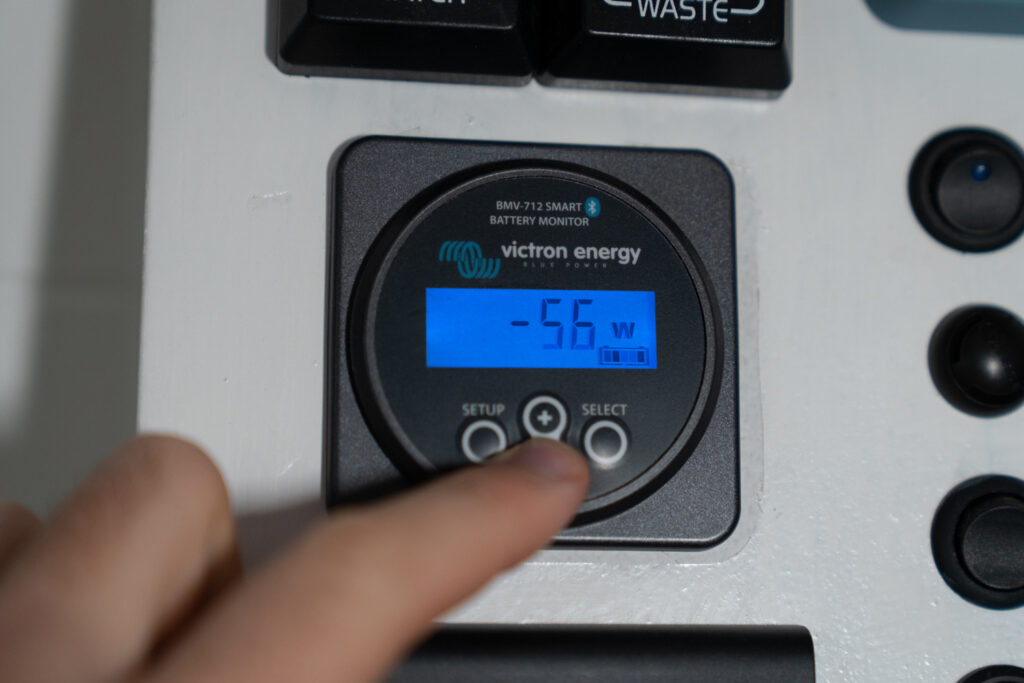
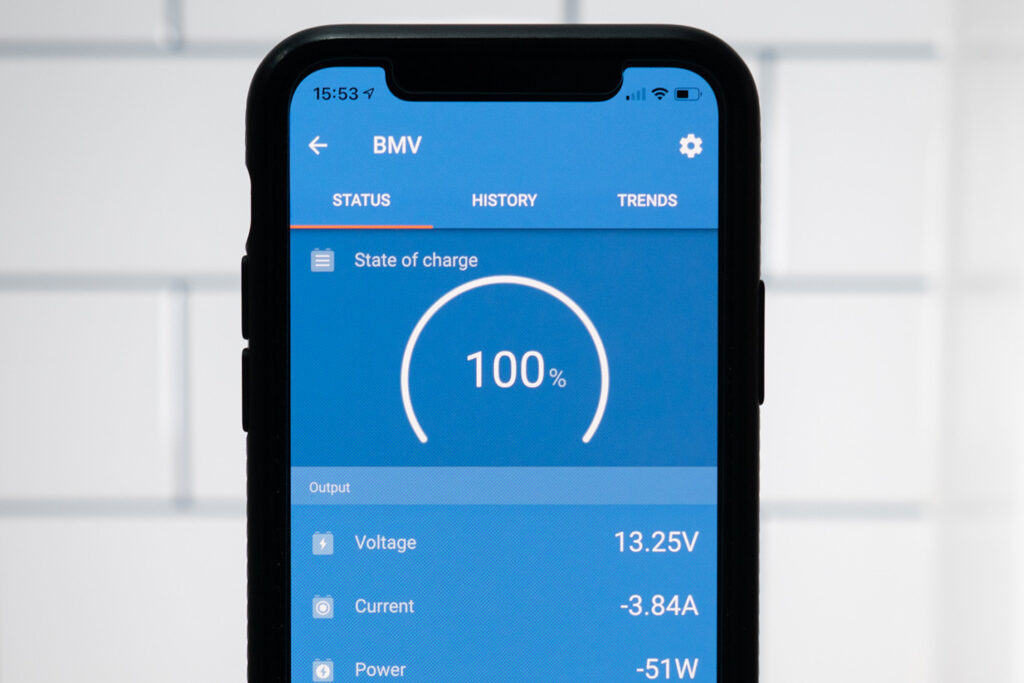
This is where we get all of our battery data from and is how you can monitor the batteries with or without using the app. It’s worth noting that the app allows more information and configuration options than just the control panel itself. Victron state that the BMV only uses 0,7Ah per month.
Sockets and change points
We have included two double 3 pin sockets on the bench seat for use with the table area, and a single 3 pin socket in the kitchen. These mains sockets provide 240v via the inverter and allow you to use any household appliance just like at home. It is best to use, and run as much of your conversion on 12v to maintain efficiency and to draw less power. One of the primary reasons for including such a large battery bank was so that we could use our stick blender and food processor in the van whilst off grid as we do a lot of cooking.
Towards the back of the van we have two 12V chargers installed. We tend to use these for charging our phones and other small items when in bed as we can rest items on the shelves in the back doors. We decided to go for the GemCoo PD chargers from Amazon which were around £13 each. These chargers contain both a USB Type C and a USB Type A connection and can output at upto 46W (type C) and 18W (type A). These provide enough power to charge our laptop, iPad and camera as well as phones/bluetooth speaker without needing to use the inverter. They do include an LED voltage indicator so we have taped over the outside to stop the light from bleeding out whilst it is dark in the van.
Motorhome WiFi
Because Biggie Small was designed for full time living and working, we wanted to include a permanent WiFi solution. For this, we went for the 5G ready compact solution from Motorhome WiFi. This consists of a 5G ready antenna which is fitted eternally on the roof, and a 4G MiFi device which is permanently powered from our leisure batteries. This setup allows us to easily swap the MiFi out in the future for a 5G version when they are more readily available on the market. Inside the MiFi is an unlimited data SIM on the Three network. Both of our phones are also on Three and we have had several instances where in the middle of nowhere our phones have had no signal yet we have had several MB down from the WiFi. In theory, we would be best to swap one of our phone SIMs to an alternative network in the future to lessen the chances of ending up with no signal at all. Having this setup allows us to stream Netflix/Amazon Prime and Spotify to the iPad or laptop just like a home network. The WiFi also allows us to run additional monitoring on the van externally which includes security features and our temperature sensing system.
SensorPush
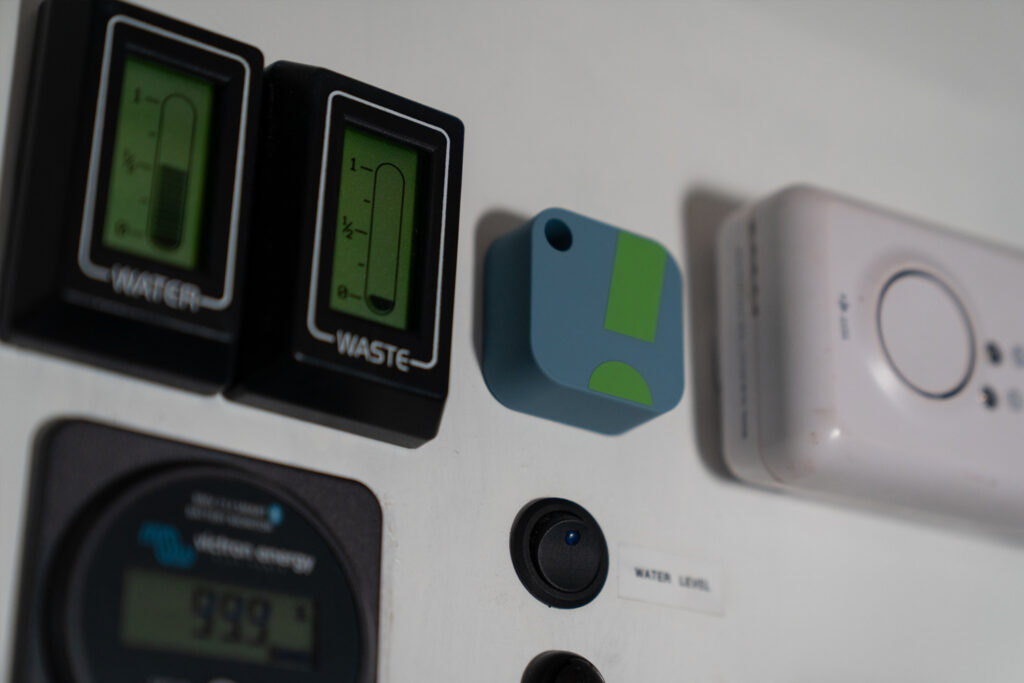
The SensorPush is a small bluetooth device that monitors temperature and humidity. It can be used in isolation or paired with a WiFi gateway which allows for monitoring the data remotely and also getting system alerts when you are away from the van. The sensors work between -40°C to 60°C (-40°F to 140°F) and from 0% – 100% humidity. Our SensorPush van setup includes two of the HT1 sensors and the G1 WiFi gateway. We currently have one of the sensors installed on our control panel in the living area next to the controls for our Truma 4E Combi thermostat. We opted for the WiFi gateway so that we can carefully monitor the van if the dogs are left inside. The application to pair the devices is available for Android and iOS and is very simple to use. You can monitor current data or browse history over the course of hours to an entire year.

